 how-to
How to Prevent Bubbles in Resin Art: 7 Steps
Table of Contents
- Why Bubbles Form in Resin Art
- How to Mix Resin Without Bubbles
- How Long Resin Should Sit After Mixing
- How to Prevent Bubbles in Resin Molds
- How to Remove Bubbles From Resin Without a Heat Gun
- Safety Considerations When Using Heat Tools
- Troubleshooting Bubbles by Type and Cause
- Preventing Bubbles in Resin Art: Common Mistakes to Avoid
- Frequently Asked Questions
Last Updated: October 21, 2026
Why Bubbles Form in Resin Art
Bubbles happen when air gets trapped during mixing, and heat, pressure changes, and porous surfaces make it worse.
Most bubbles form during mixing, resting, and pouring, each with its own causes and solutions.
Some bubbles rise on their own; those trapped deep inside create weak spots and ruin clarity.
Temperature matters: cold resin holds air longer, warm resin releases it faster, which is why warming materials before mixing works.
How to Mix Resin Without Bubbles
The mixing process is where most bubble problems start. Slow, deliberate mixing beats fast, aggressive stirring every time.
Warm Your Resin Before Mixing
Warm resin flows better and releases air more easily; a warm water bath takes just a few minutes.
Place your resin bottle in warm water for 5 to 10 minutes before mixing. The water should feel warm, not hot, you just want the resin at room temperature or slightly warmer.
Lower viscosity lets air bubbles float up and escape faster, eliminating many before you start mixing.
Use the Right Mixing Ratio
Your resin and hardener must mix in the exact ratio the manufacturer specifies. Too much of either traps more air and cures poorly.
Measure both parts with a scale or measuring cups, not guesses. Most epoxy systems use a 1:1 or 2:1 ratio, check your product's instructions.
Accurate ratios also ensure proper curing; a wrong ratio can leave your piece tacky or brittle.
Stir Slowly and Deliberately
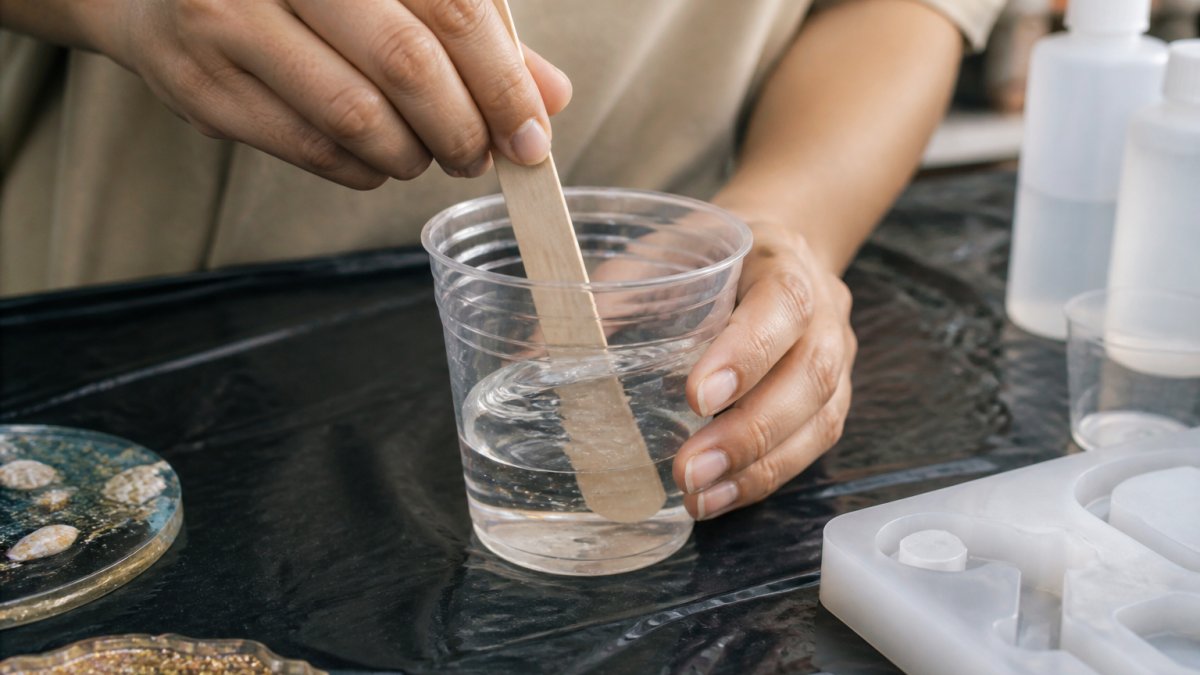
This is the most important step for how to mix resin without bubbles. Slow stirring introduces far fewer air pockets than fast stirring.
Use a wooden stick or plastic stirrer and stir for 2 to 3 minutes at a slow, steady pace, reaching the bottom and sides of the cup so the parts blend completely.
Stir in one direction with circular motions, and avoid lifting your stick out of the mixture, which splashes and introduces more air.
How Long Resin Should Sit After Mixing
After mixing, let your resin rest before pouring.
Most epoxy systems need 5 to 15 minutes of rest; check your product's instructions, since fast-cure resins need less and slow-cure systems more.
Set a timer, bubbles that escape during rest won't be in your finished piece.
A thin layer of bubbles on top is normal, air pockets are escaping. Let them go.
Warm resin releases air faster and needs less rest; cool resin needs more. Adjust your timing accordingly.
How to Prevent Bubbles in Resin Molds
Your mold surface and pouring technique control whether bubbles end up in your final piece. A clean, smooth mold and slow pouring work together to keep air out.
Prepare Your Mold Surface
Start with a clean mold, dust, dirt, and moisture trap air. Wipe it with a dry cloth before pouring.
Rough or porous surfaces grab and hold air, so sand textured molds smooth, a smooth surface lets bubbles escape.
Some makers spray molds with a release agent for an even smoother surface. A smooth mold is one of the best ways to prevent bubbles in resin molds.
Check the inside corners, which trap air easily, and make sure they're clean and smooth.
Pour Resin Slowly and Steadily
How you pour matters as much as what you pour. Fast pouring traps air. Slow pouring lets air escape.
Pour in a thin stream from a low height, keeping your container close to the mold surface.
Fill your mold in one continuous pour if possible; pouring in stages creates layers where air gets trapped.
Watch for bubbles as you pour; if they form on the mold surface, slow down. Slower is always better.
How to Remove Bubbles From Resin Without a Heat Gun
You don't need special tools to remove bubbles from your resin surface. Simple methods work just as well.
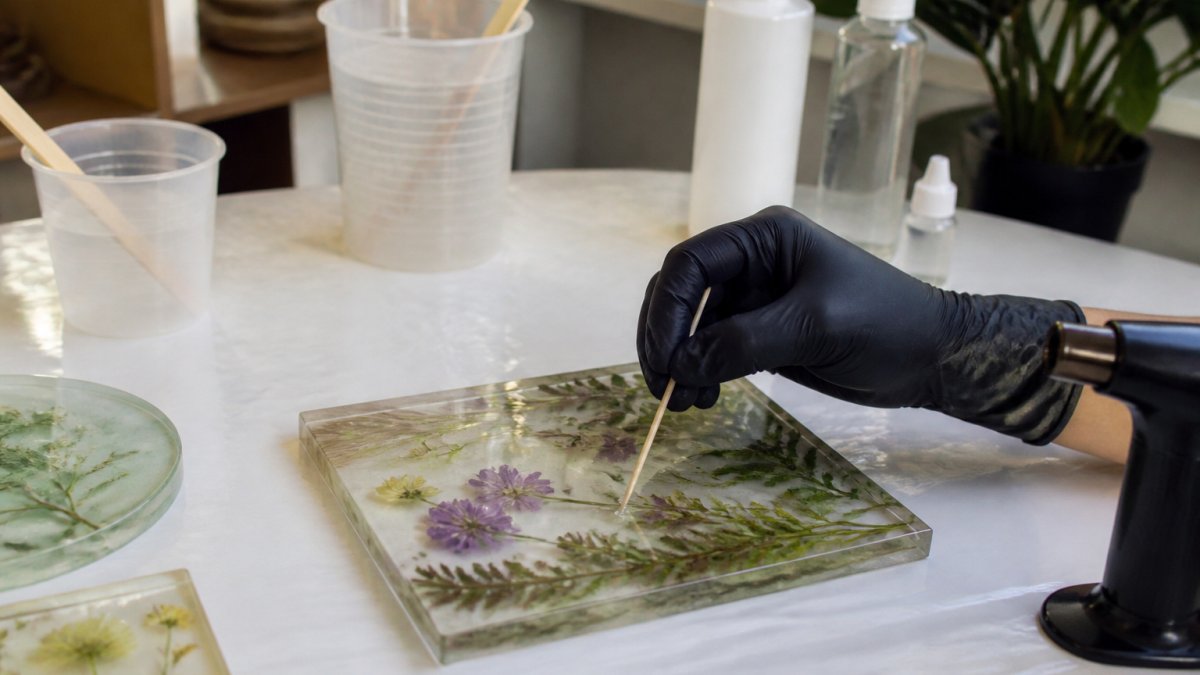
A toothpick works perfectly for surface bubbles. Poke each gently; it collapses and the resin flows over the spot.
Blow gently on the surface, your breath creates a little heat and movement that helps surface bubbles pop.
Let gravity do the work: small bubbles often rise on their own over the first 30 minutes.
Safety Considerations When Using Heat Tools
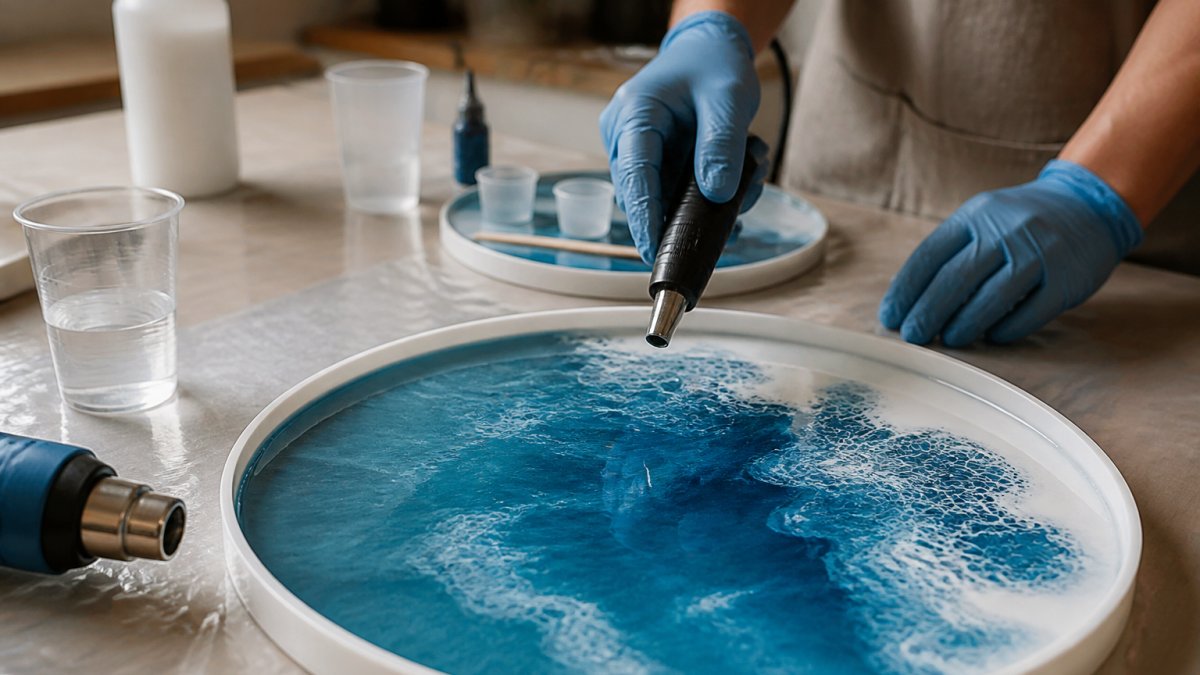
Heat guns and torches pop surface bubbles effectively, but they carry real fire, fume, and material-damage risks. Treat every heat session as a small fire-safety drill.
Fire and Burn Prevention
Resin and hardener are combustible before cure.
Work on a nonflammable surface such as a metal tray or stone tile, and keep a fire extinguisher rated for chemical and electrical fires within reach.
Let the nozzle cool completely before setting the tool down or storing it. Many heat guns have a cool-down cycle; follow the manufacturer's instructions rather than unplugging immediately.
Ventilation and Respiratory Protection
Heating resin accelerates volatile organic compound (VOC) release and can produce irritating fumes. Work with cross-ventilation, such as an open window with a fan pulling air out; a garage or basement without airflow is not adequate. If you cannot ventilate well, wear a respirator with organic vapor cartridges rated for your resin system, and check the manufacturer's safety data sheet (SDS) for ventilation and PPE guidance.
Avoiding Overheating and Resin Damage
Excessive heat can cure the surface unevenly, create new bubbles from boiling solvents or moisture, and weaken the piece. Keep the heat source moving in quick, sweeping passes 6 to 12 inches from the surface, and stop as soon as bubbles pop.
Some resins, especially high-solvent or thin-viscosity ones, are more heat-sensitive. Test on a small cured sample first; if you see smoking, discoloration, or a wrinkled skin, you are overheating, back off immediately.
Personal Protective Equipment
Wear safety glasses or goggles when using heat tools, since popping bubbles can eject hot resin droplets. Nitrile gloves protect against resin but are not heat-resistant; use tongs or a heat-resistant mitt to touch hot surfaces.
After the Heat Pass
Turn off and unplug the tool, and let the resin cool undisturbed. Don't touch or move the piece until it reaches room temperature and the surface has begun to set, hot resin can cause serious burns, and disturbing a warm pour can reintroduce bubbles or create ripples.
If you are unsure your workspace meets these conditions, skip the heat tool and use gentler methods such as a toothpick, a gentle exhale, or a longer rest. Safety is not a step you can rush.
Troubleshooting Bubbles by Type and Cause
Not all bubbles are the same: one from mixing needs a different fix than one from a porous substrate or a pinhole during cure. Use this diagnostic workflow to identify the cause before applying a remedy.
Step 1: Identify When the Bubbles Appear
- During mixing: Bubbles are suspended throughout the mixture and look like a foam or cloud. Cause: air whipped into the resin by fast stirring or lifting the stir stick. Fix: slow down, stir in one direction, and let the mixture rest.
- During pouring: Bubbles appear along the mold walls or under the stream. Cause: pouring from too high, pouring too fast, or trapping air against a rough mold surface. Fix: pour in a thin stream from low height and from one corner.
- After pouring, before cure: Bubbles rise to the surface and pop on their own. Cause: normal outgassing as resin warms and viscosity drops. Fix: wait; most small bubbles escape within 15-30 minutes.
- During cure: New bubbles or pinholes appear at the surface. Cause: substrate outgassing, moisture, or exothermic heat releasing trapped air. Fix: seal porous materials and control pour depth and temperature.
- After cure: Bubbles are locked inside or pinholes remain on the surface. Cause: trapped air that never escaped. Fix: prevention is the only reliable remedy; repair requires sanding and a new topcoat.
Step 2: Match the Bubble Type to the Cause
Mixing bubbles are uniform and distributed throughout the piece, formed because air was folded into the resin.
Substrate outgassing bubbles cluster near embedded objects or along the mold bottom.
Surface pinholes are tiny craters that appear after cure, often in a grid or scattered pattern, usually from moisture, dust, or an unclean mold.
Step 3: Check Resin-Specific Instructions
Advice varies by resin type: epoxy, polyurethane, and polyester have different mix ratios, working times, and heat tolerances. Always read your product's instructions, a 1:1 epoxy may need a different rest time than a 2:1 system, and a fast-cure resin may have a pot life of only a few minutes. The mix ratio, working time, and recommended pour depth on the label are your primary guide.
Step 4: Control Temperature, Humidity, and Cure Depth
Cold resin is viscous and holds air; warm resin releases it faster but can cure too quickly if overheated. Work within the manufacturer's recommended range, typically around 70-75°F for many epoxies. High humidity introduces moisture that causes pinholes and cloudiness, so avoid damp conditions or use a dehumidifier. Thick pours generate more exothermic heat, which can release trapped air, so follow the maximum pour depth on the label and pour in layers if needed.
Step 5: Prevention Versus Repair
Prevention is always easier than repair. Before pouring, warm the resin, mix slowly, rest the mixture, seal porous substrates, clean the mold, and pour slowly; after pouring, use gentle heat or a toothpick for surface bubbles and let the piece cure undisturbed. Bubbles locked inside a cured piece require sanding down to the bubble, filling with fresh resin, and re-finishing, and deep trapped bubbles may not be practical to repair at all.
Preventing Bubbles in Resin Art: Common Mistakes to Avoid
Most bubble problems come from rushing. Speed creates bubbles. Patience prevents them.
Don't skip warming.
Don't stir too fast.
Don't pour too fast. Slow, steady pouring beats rushing every time.
Don't use a dirty mold; dust and debris trap air.
Don't pour in stages unless necessary, each new pour creates another chance for trapped air.
Don't forget temperature: cold materials hold air, warm materials release it.
Creating bubble-free resin art takes patience and attention to detail. Climaxxx Designs specializes in handcrafted resin art pieces that showcase how these methods produce crystal-clear results.
Frequently Asked Questions
Why does my resin have bubbles in it even when I mix carefully?
Bubbles form when air gets trapped during mixing, warming, or pouring. Even careful mixing can introduce microbubbles if the resin is too thick or cold. Warming your resin lowers its viscosity, making it easier for trapped air to escape. If bubbles persist, check your mixing speed, too fast introduces air, too slow traps existing bubbles. Porous molds and embedded objects also outgas, releasing air that becomes trapped in the resin.
How long should resin sit after mixing before pouring?
Most epoxy resin manufacturers recommend letting mixed resin rest for 5-15 minutes before pouring, though some formulas vary. This resting time allows microbubbles created during stirring to rise to the surface and escape naturally. Check your specific resin's instructions, as pot life (working time) differs by product. Resting too long risks the resin beginning to cure before you pour, while pouring immediately traps more bubbles.
Can I remove bubbles from resin without a heat gun?
Yes. A toothpick or needle can pop surface bubbles manually. For deeper bubbles, try poking them gently with a thin tool while the resin is still wet. You can also use a straw to blow gently across the surface, which sometimes dislodges bubbles. Letting the resin cure partially (5-10 minutes) before applying any method reduces the risk of disturbing the entire pour. Patience and a resting period often eliminate most bubbles naturally.
Does warming resin before mixing actually prevent bubbles?
Yes. Warming resin to 70-75°F (21-24°C) using a warm water bath reduces its viscosity, allowing air to escape more easily during and after mixing. Thinner resin flows better and lets trapped bubbles rise faster. Avoid overheating, temperatures above 85°F (29°C) can accelerate curing and create new problems. Warm your resin gently for 10-15 minutes before mixing, then proceed with slow, deliberate stirring for best results.